Why You Should Add a Custom Trigger to Your Gun
May 28th 2020
The WON features Timney Triggers. Click here to view the article.
Let’s face it, rifle shooting sports hobbies cost money. No question about it. Any enthusiast pursuing any kind of rifle subdiscipline is aware of this fact. From curious beginners to serious long-range steel ringers, hunters and top competitors, we all are constantly striving to improve upon the skills set appropriate to our styles of shooting. One of the most inexpensive ways to elevate training, success and improve repeatable accuracy at the range and beyond is by changing to a custom trigger.
Why Training Matters
There is a saying in the fire service we use when we train, “Don’t practice until you get it right, practice until you can’t get it wrong (author unknown).” As firefighters, we train as if it is the real deal, every time. All of our lives and the public depend on how we are able to execute our individual tasks in a dynamic, unpredictable and complex set of situations. I use this as mental medicine applied to every aspect of my life; training in shooting is no different.

Whether 10,000 feet up on a remote Wyoming mountain top in subzero temperatures, strong swirling winds gusting up to 50 miles per hour and having just 1 chance, a 350+ yard shot to notch an elk tag of a lifetime, or ringing a 12-inch steel plate at 1,400 yards many times without a miss. In a competition, often the difference between winning and losing comes down to 1 shot. Or … in a home defense situation, when 1 shot can mean the difference in survival for you and your loved ones, equipment failure is not an option. Relying on your instincts and training for an appropriate response is necessary to succeed in all of these scenarios.
What We Can Control
There are very few elements we can control in these or any situations, except the tools we choose to work with and how we choose the time and dedication to physically master them. In the complex world of rifle shooting, the words “custom anything” can send folks running away, seeing dollars signs draining their savings accounts. Again, this can get expensive, but doesn’t have to break the bank. One of the most inexpensive ways to elevate training, success and improve repeatable accuracy at the range and beyond is by changing to a custom trigger.

Training with a 22 and Competing with a 6.5 Creedmoor
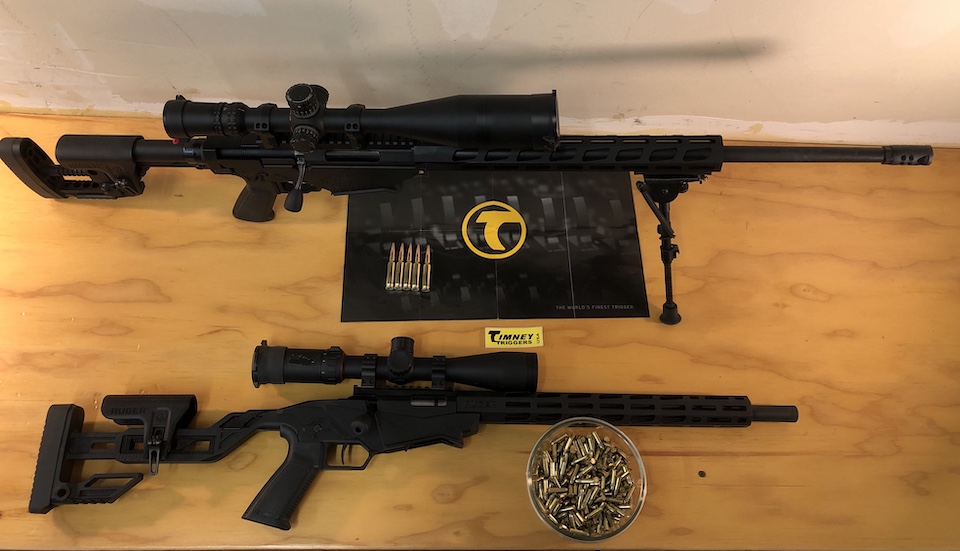
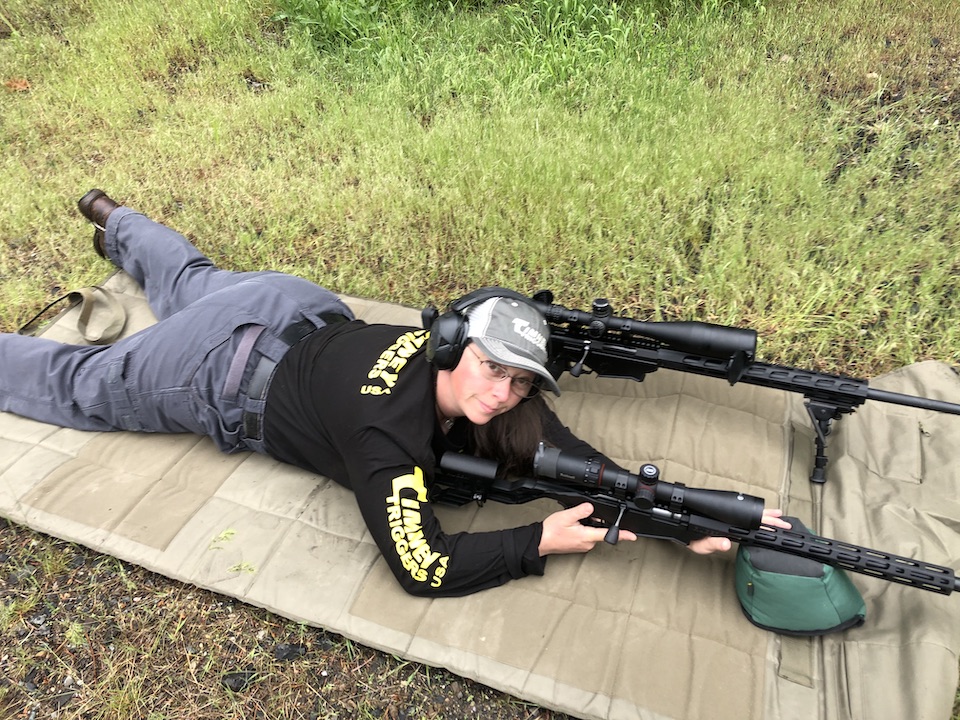
I’ll use my long-range shooting hobby as the example. I divide my time between Washington state and Wyoming. My options in Washington for long range shooting are limited at my home range of 50 yards. The local range only offers 100- to 200-yard rifle ranges, and not every day of the week. Contrast this scenario to events I participate in Wyoming – with targets ranging out to a mile and access to a shooting ranges with steel out to 1000 yards. I barely get an opportunity to use my long-range rifles to their fullest capability, only maybe once to a few times a year (when I’m in Wyoming). Staying mentally prepared, and retaining muscle memory of the precise moment when my trigger sends a projectile to its intended target on my long-range rifles matters in competition. By having triggers set up the same in my training rifles as in my long-range rifles allows me to approach my first attempt in more than a year at a 1000-yard steel ring with a bit more confidence. Not to mention the cost difference by training with .22 rimfire versus 6.5 Creedmoor versus 50 BMG. I am able to send hundreds of rounds downrange with the .22 LR for approximately the same cost as 2 rounds of 50 BMG or 10 rounds of 6.5 Creedmoor cartridges.

Changing Over to a Custom Trigger
I shoot a Ruger 22 Precision Rimfire chambered in 22 LR and also, a Ruger Precision rifle chambered in 6.5 Creedmoor. Installing Timney drop-in triggers into these rifles is simple and takes less than 15 to 30 minutes for each rifle. Timney sends detailed instructions with every trigger, as well access to excellent customer service staff that is extremely knowledgeable, patient and helpful if you happen to need any assistance.

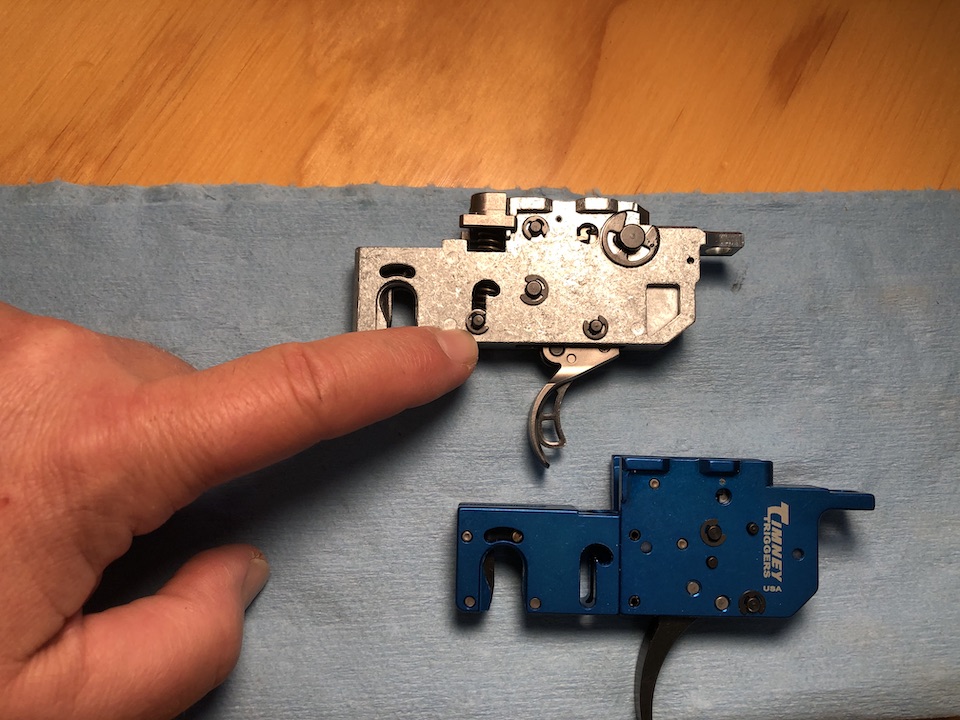
The process was similar for both rifles, since the RPR is essentially a mini-Ruger Precision rifle with a few scaled-down differences. Basically, you must remove 2 action screws to separate the upper and lower parts of the rifle with an Allen wrench. (The size of the Allen wrenches is different for the 2 rifles, but the same concept applies.) Once this task is complete, you have access to the trigger assembly. There is a step to move the tension spring in the “J” notch out of the curl of the “J” and into the top of the strait portion of the “J.” This relaxes the spring to be able to remove the entire trigger assembly by a little wiggling of the cocking block and sliding the trigger out. This was the same for the 6.5 CM, except with a slightly larger spring and a little more tension to overcome. After the trigger assembly is removed, the spring, tension pin with “C” clip and cocking block needs to be transferred to the Timney trigger. Note: If the photos on the paper instructions included with the trigger are not easy to understand, the very helpful folks at Timney will email you very nice detailed digital instructions with very clear digital photos, which are much easier to read. I highly recommend this step – getting in touch with Timney’s representatives. They are fun to talk to and enthusiastic about helping answer any questions.

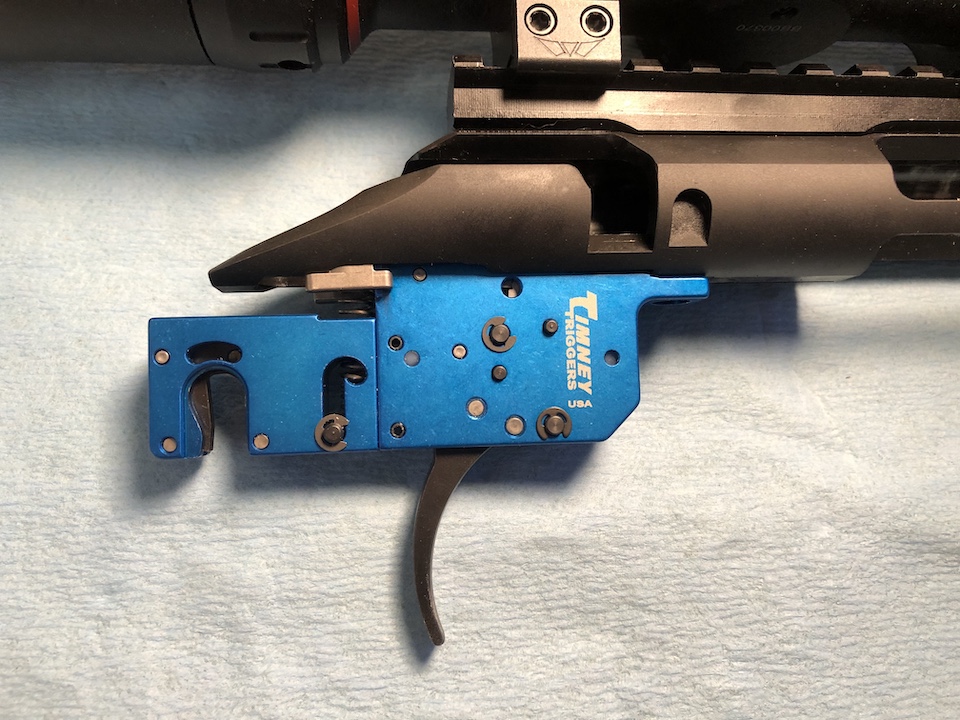
Now you are ready to install the new Timney trigger into your rifle. Line up the notches and shimmy it into its new home. Make sure the cocking block is seated squarely and properly. Can take a little wiggling, but it is not very difficult.

After Dropping the Timney Custom Trigger in Place
Next is to reassemble the rifle by reinstalling the action screws. I used a torque wrench and looked up the specifications for tightening the action screws. You may not have a calibrated torque wrench on hand and that is perfectly OK. Using the Allen wrench is all that is needed, but use caution not to over-tighten the screws; this can cause them to stretch and possibly damage your rifle and degrade accuracy.

Always perform a function check of the rifle to make sure it works as it should. I dry fired both rifles several times, engaged the safety to verify it worked, disengaged it, dry fired a few more cycles. Then, I went out to live-fire test. Both rifles worked flawlessly and were an absolute pleasure to shoot. I am able to continue to improve as a shooter and elevate performance with this simple upgrade to several of my training, long-range and hunting rifles.
Also note that Timney can set all their triggers to your desired pull weights. They make both single stage and 2-stage triggers for a large variety of applications.

The Timney triggers I used for this post include the following:
Timney Triggers 649 for the Ruger Precision Rimfire rifle. MSRP: $263.99
Timney Triggers 650 two-stage trigger for the Ruger Precision rifle. MSRP: $263.99
